From Dec 15th we will be adding support for passkeys to be used as MFA devices in Genesys Cloud. I created a community post a while back outlining the associated UI changes, but I want to provide a bit more info on passkeys, what is supported and how all of this works. Combined with our plans to enforce MFA for admin users logging in natively to Genesys Cloud (see this announcement), passkeys provide a lot of additional flexibility and usability in terms of identity verification.
What are passkeys?
So, what are passkeys? A quick Google search suggests the following:
Passkeys are a password replacement that uses public-key cryptography to provide a faster, more secure sign-in experience. They work by creating a unique pair of cryptographic keys for each account on your device: a public key stored by the service and a private key kept securely on your device. To log in, your device uses the private key to respond to a challenge from the service, proving your identity without needing to type a password or expose any shared secrets.
Many of the search results associated with passkeys suggest that they are a replacement for passwords and are, in fact, an easier and more secure alternative to passwords. All of this is true and you have probably encountered passkeys already for logging into many of your favorite websites. You may not have even realised that you were using passkeys but you now use techniques like fingerprint or facial recognition to log into these sites, instead of using a password. It is a lot easier and a lot more secure (more on that later).
In the case of Genesys Cloud, we are not using passkeys as a replacement for passwords at this point. What we are doing is allowing passkeys to be used as a secondary form of identity verification for multi-factor identification (MFA) purposes. You still need to login with your username and password and, if MFA is enabled/required (for native/non-SSO logins only), you need to use an MFA device to prove your identity. Up to now the only option for this has been to use a time-based generator, also known as a Time-Based One-Time Password or TOTP device. We are all familiar with these as Authenticator apps, such as Google Authenticator or Microsoft Authenticator, which are typically installed on your mobile device and provide a secure means of verifying your identity, based on something you have, your mobile device.
So, why are we adding passkey support?
While time-based generators installed on mobile devices provide a secure means of verifying your identity, they are typically installed on a personal mobile device. There are a couple of challenges with this approach for use in the workplace. In many environments it is considered acceptable to ask users to install an authenticator app on their personal mobile device and to use this for work-related activity. Users probably already have an authenticator app installed for personal use and you are simply asking them to add a verifier for work purposes. However, in some environments and in some jurisdictions it is not considered acceptable to require users to use their personal mobile device for work purposes and in other environments, particularly more secure environments, it is not acceptable to bring personal mobile devices or even any mobile device into the workplace. For this reason, we need to provide other options and this is where passkeys come in. They allow devices containing biometric readers (like fingerprint readers or facial recognition) or physical security tokens (like Yubikeys) to be used for identity verification. This makes it a lot easier for organizations to implement MFA for Genesys Cloud.
How do they work?
The Web Authentication API (also known as the WebAuthn API) is a specification written by the World Wide Web Consortium (W3C) and the FIDO alliance, with participation from an array of organizations such as Google, Mozilla, Microsoft, Yubico and others. The API allows servers to register and authenticate users using public key cryptography, by creating a public-private keypair (known as a credential). The private key is stored securely on the user's device; a public key and randomly generated credential ID is sent to the server for storage. The server can then use that public key to prove the user's identity. Because passkeys use public-key cryptography, they are really secure and they are also really easy to use. Unlike with time-based generators, where there is a need to enter a code, with passkeys, the device itself is used to prove your identity. There are many websites which provide excellent overviews of WebAuthn and how it works. I've added a couple of these links here:
Web Authentication Guide, from Duo Security
Get Started with WebAuthn, from Yubico
WebAuthn - A short introduction, from Auth0
What devices can we use?
This is probably the most common question I am getting asked at the moment. The good news is that WebAuthn is a standard, so any device that is compatible with the standard can be used. Webauthn is part of the FIDO2 framework, whereby FIDO2 combines the Client to Authenticator Protocol (CTAP) with the WebAuthn API. So, devices that are FIDO2-capable are Webauthn compatible and will work as a passkey-based MFA device on Genesys Cloud. These include biometric-capable devices and platform authenticators (e.g. Apple's Touch ID and Face ID, Windows Hello, or Android fingerprint and face recognition) as well as roaming authenticators or security keys (FIDO2-capable hardware tokens) such as Yubikeys (Yubico), Google Titan Keys or Nitrokeys. Go ahead and start to test it out, from Dec 15th, to see how easy it is to add a passkey using, for example, the fingerprint reader on your computer. Once you've done that, even if your login credentials get compromised, a bad actor would need to have access to your device, in this case your fingerprint reader (and your fingerprint!) to get access to your account.
I'm ready to get started. How do I add an MFA device?
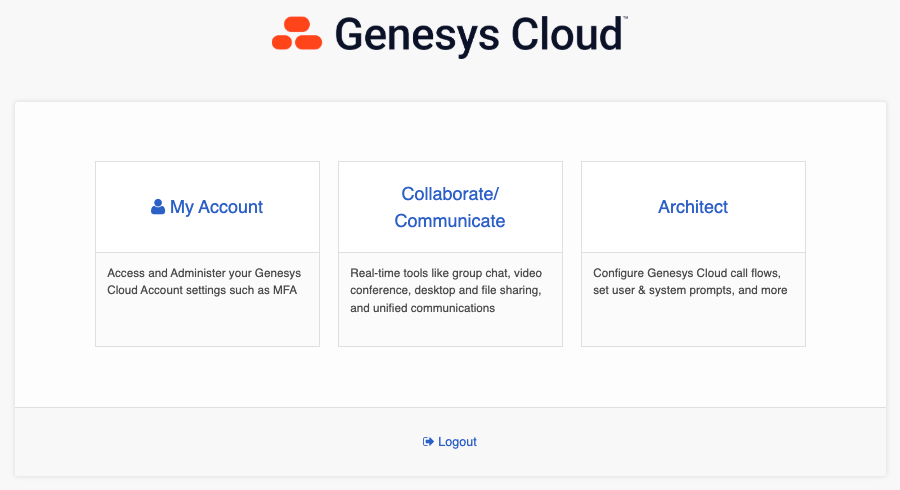
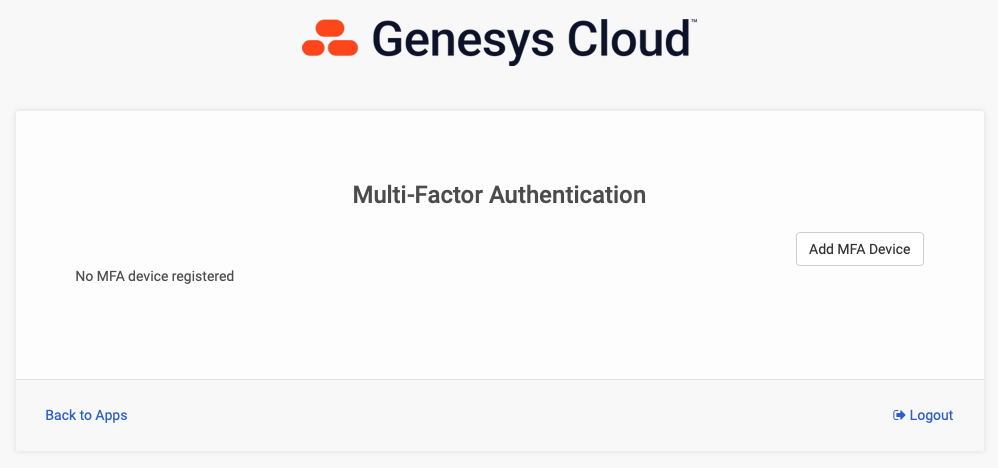
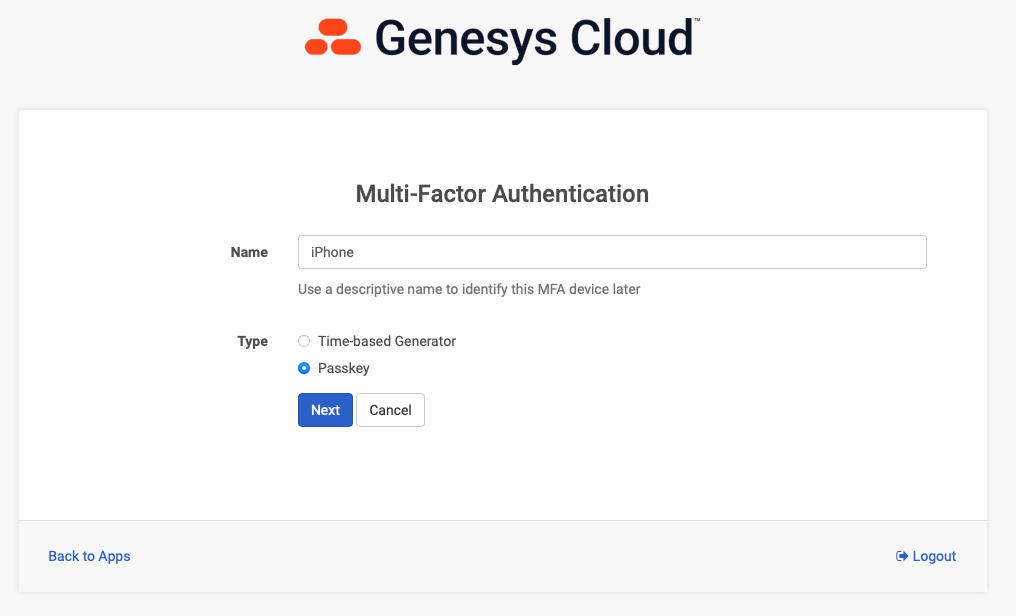
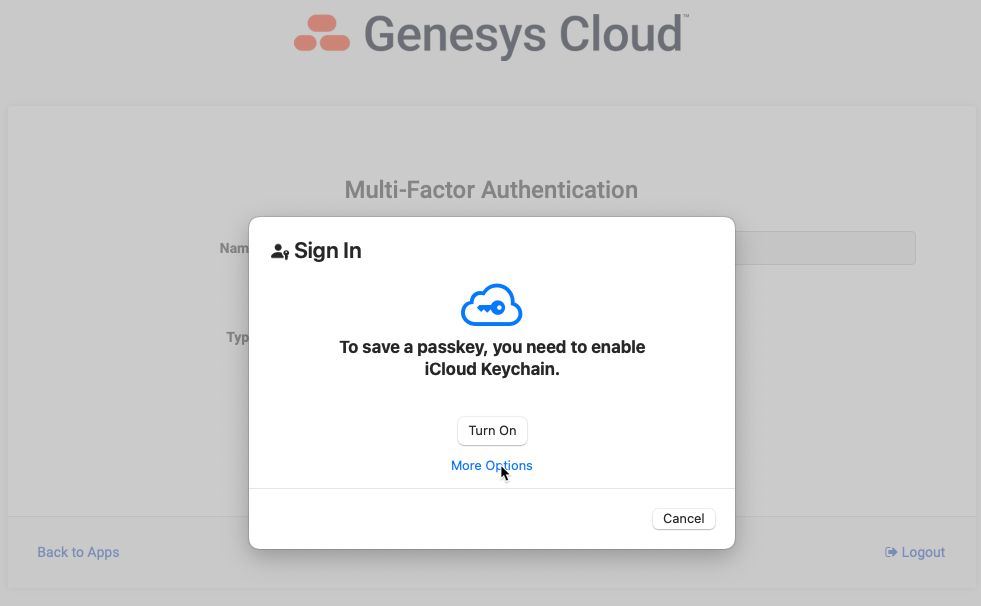
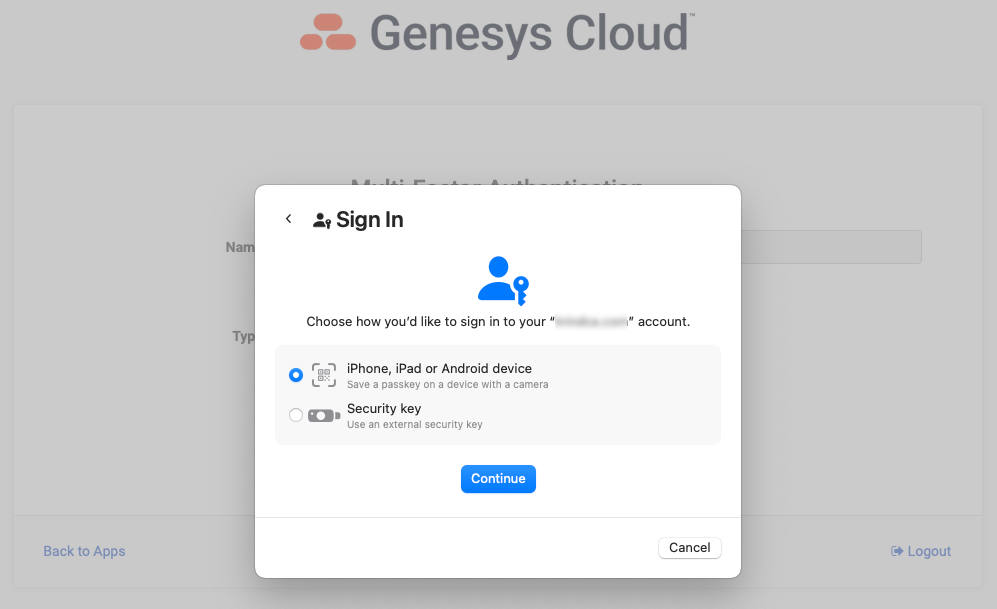
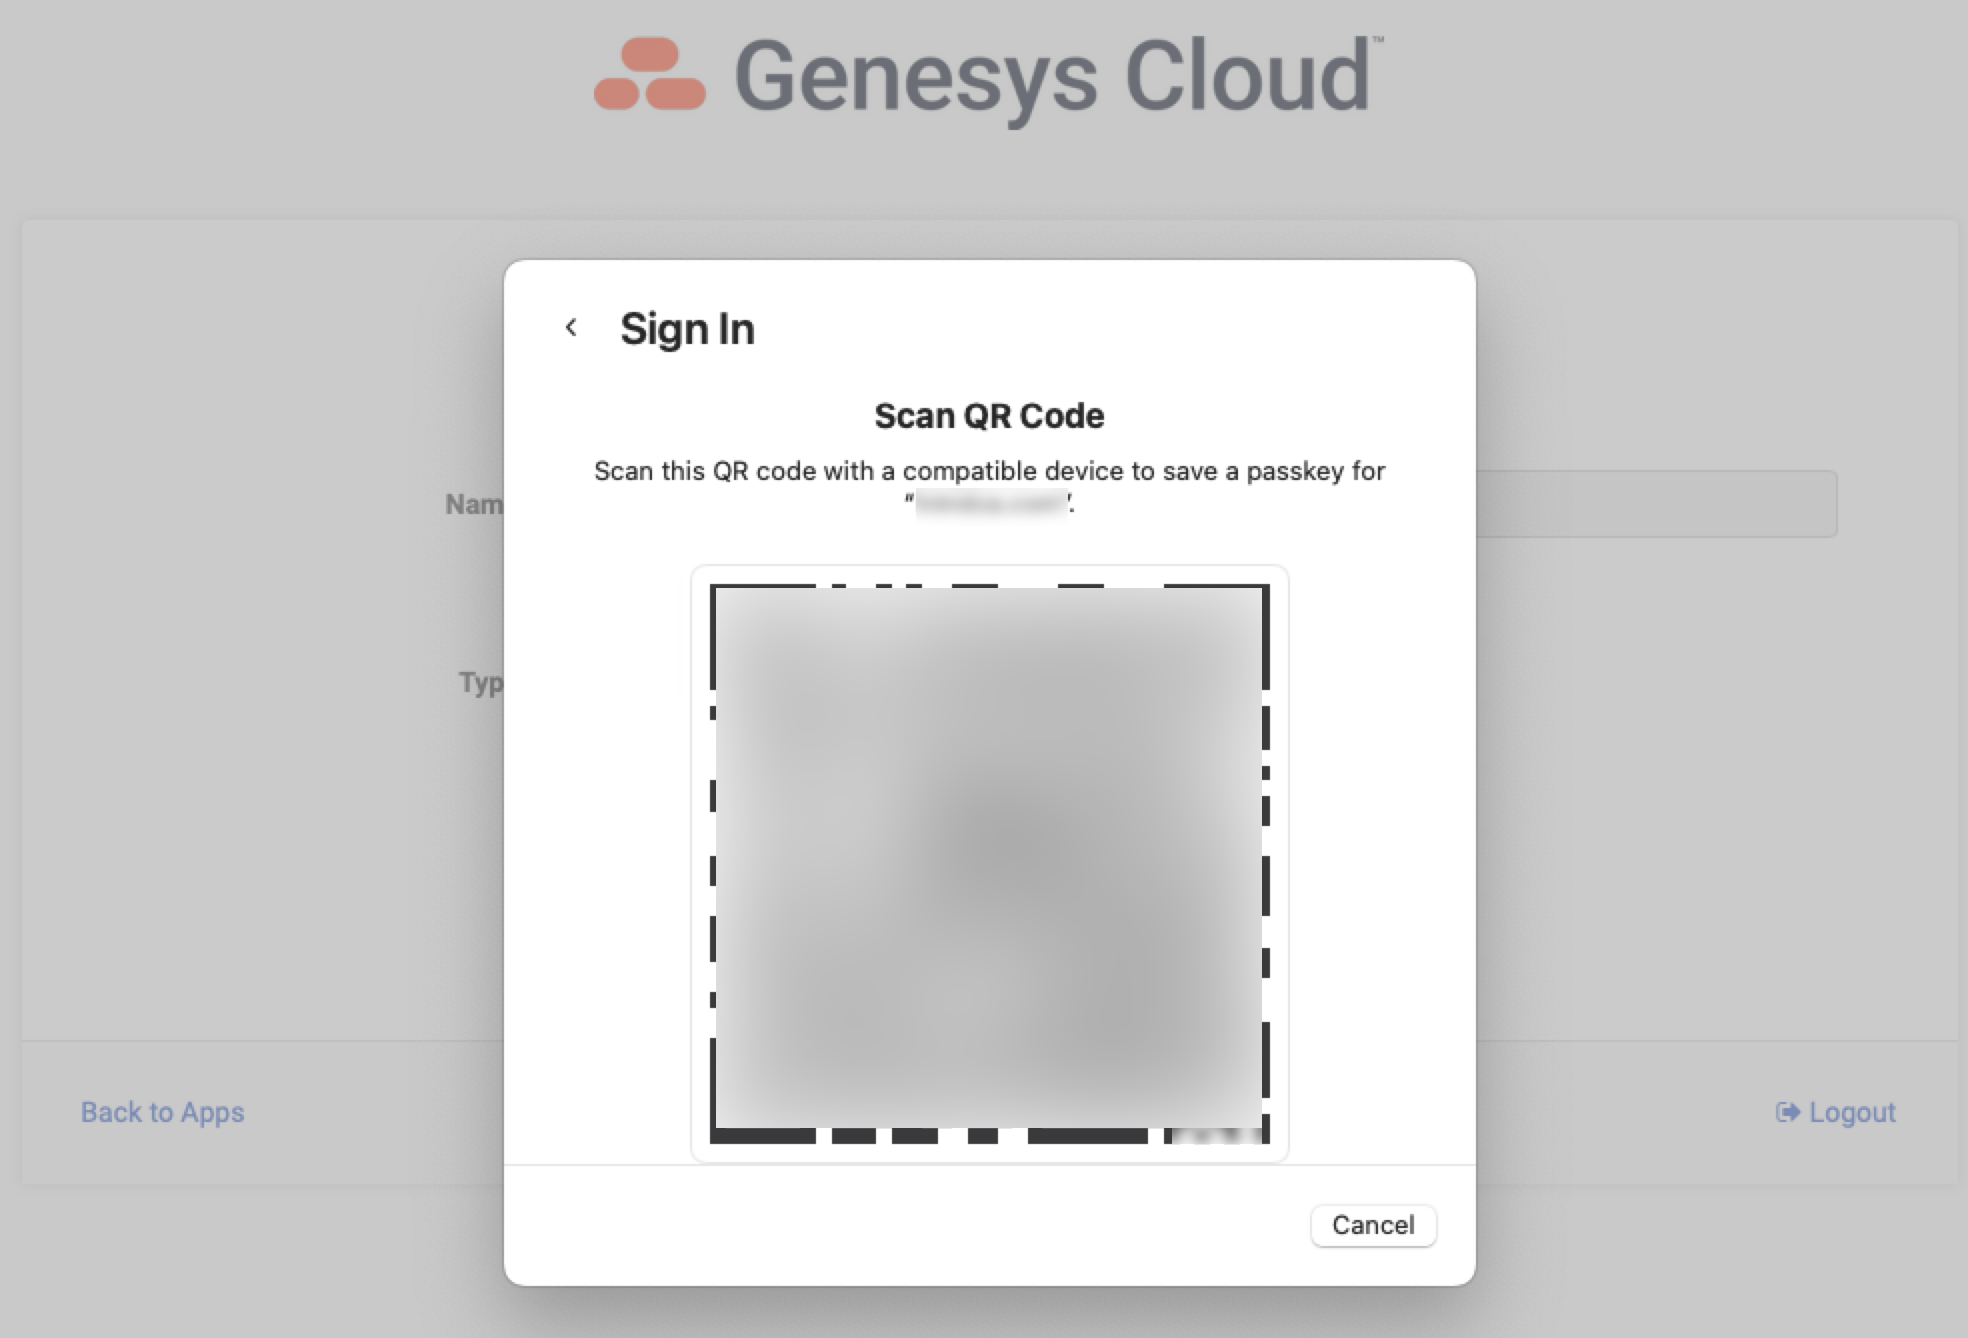
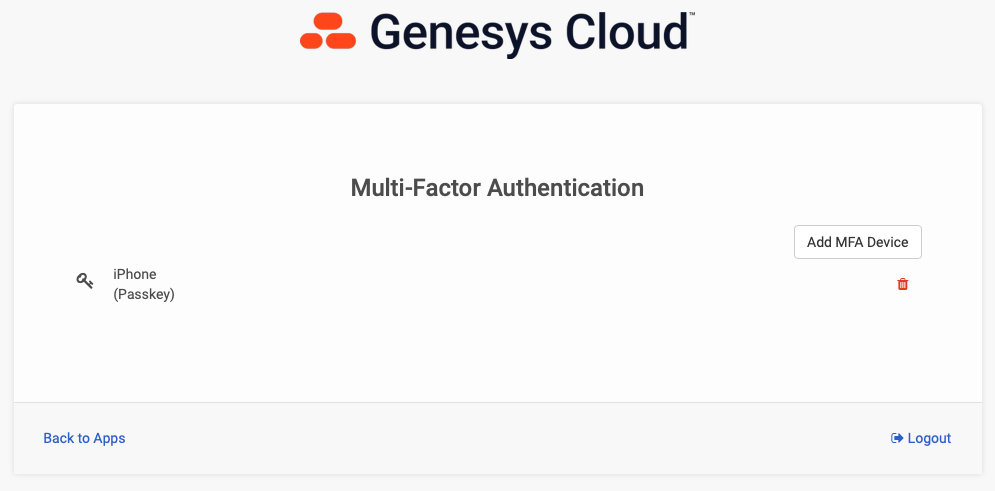
If you log in natively to Genesys Cloud using username and password (i.e. you don't log in via SSO), you can add an MFA device from the Splash Screen. Click on the My Account tile and select Add MFA Device. Give your device a name and select the Passkey option. Follow the instructions provided, which will be specific to the browser and the Operating System you are using. See screenshots below as an example of what this workflow looks like. In the example below, I selected "More Options" and scanned the QR code with my iPhone. Now, when I login, after I enter my username and password, I can use facial recognition on my iPhone as identity verification for MFA purposes. Simple and secure.
What other questions do you have?
I'm sure you have some other questions. Add these below and I will respond and/or update the article as appropriate.
#Roadmap/NewFeatures
#Security
------------------------------
David Murray
Principal Product Manager
Genesys Cloud
------------------------------